

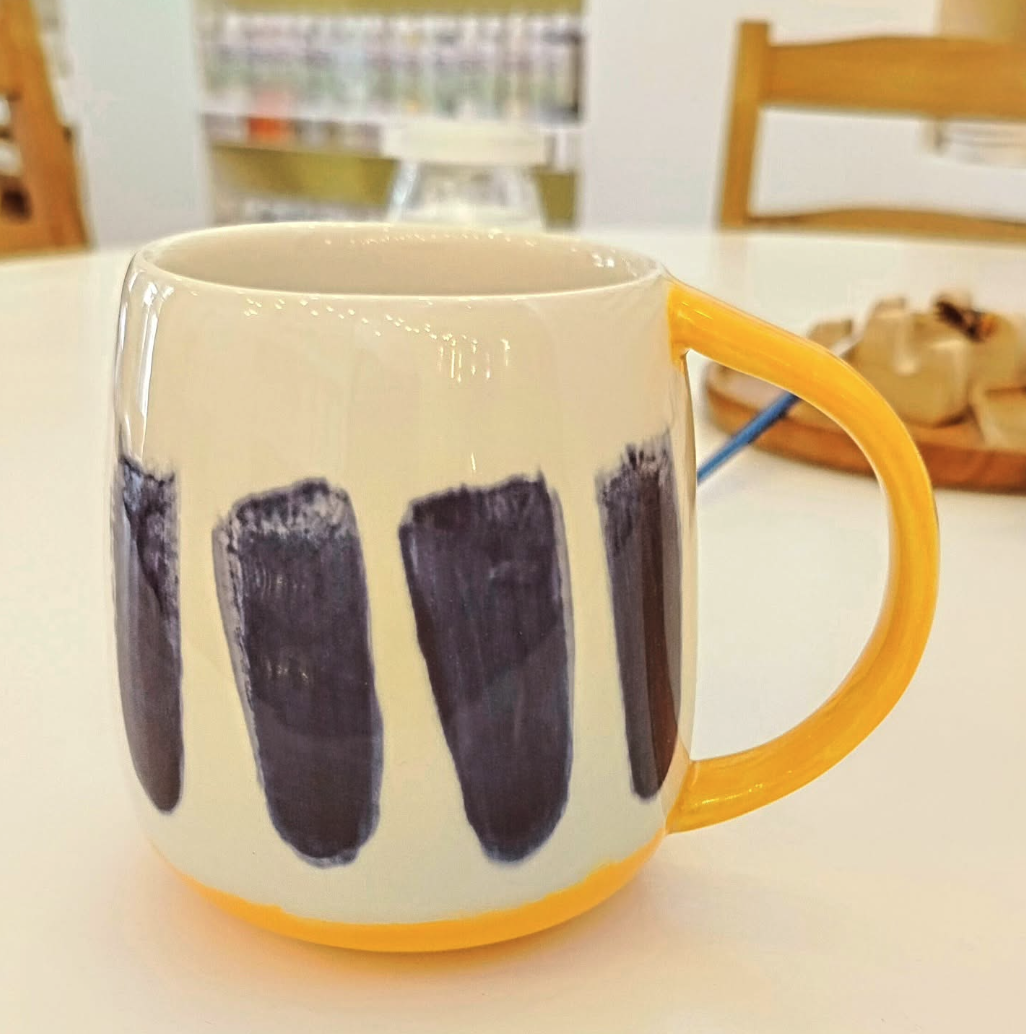
Painting ceramic mugs in Barcelona is easier than it seems. At La Pintoràmica we accompany dozens of people every week in their first experience, without materials to buy and with the piece ready in 3 days.
1) Before you start: materials, safety, and choosing your mug
What paint is used (Stroke & Coat and ceramic pencils)
The workshop works exclusively with Mayco Stroke & Coat®. When properly fired, it is dinnerware safe. Therefore, you can decorate up to the rim. It also works very well with 2–3 thin layers on bisque.
Ceramic pencils are also used for signatures and fine lines. In food-contact areas, these marks are placed under clear glaze to ensure a smooth surface.
Safe drinking areas and how to protect the rim
With properly fired Stroke & Coat, there’s no need to leave a 1 cm gap. Still, it’s best not to overload the rim with tiny details. If you want a perfect edge, apply painter’s tape, paint, and remove it when touch-dry.
Preparation checklist (cleaning, templates, and layers)
- Cleaning the sponge cake: pass a slightly damp sponge to remove dust and particles. Do not use alcohol or degreasers (they could clog pores).
- Color test: shake the jar and make a test stroke in a hidden area to check coverage and tone.
- Design plan: prepare templates, tape for straight lines, and cut-out stickers if you want to create masks or silhouettes.
- Layers: apply 2–3 thin coats, letting each layer dry before the next to achieve even opacity; for soft effects, use washes by adding a few drops of water.
- Details: lines and signatures with ceramic pencils or fine-tip bottles; for pointillism, use the end of the brush or fine nozzles.
- Firing: hand in the piece for kiln firing at 1,100 °C following the studio’s protocol (no cold sealants are used).
How to choose your palette: colors and emotions
The palette improves when it connects with the intention behind the gift. Get inspired by the ceramic colors and emotions guide and choose 2–3 main tones.
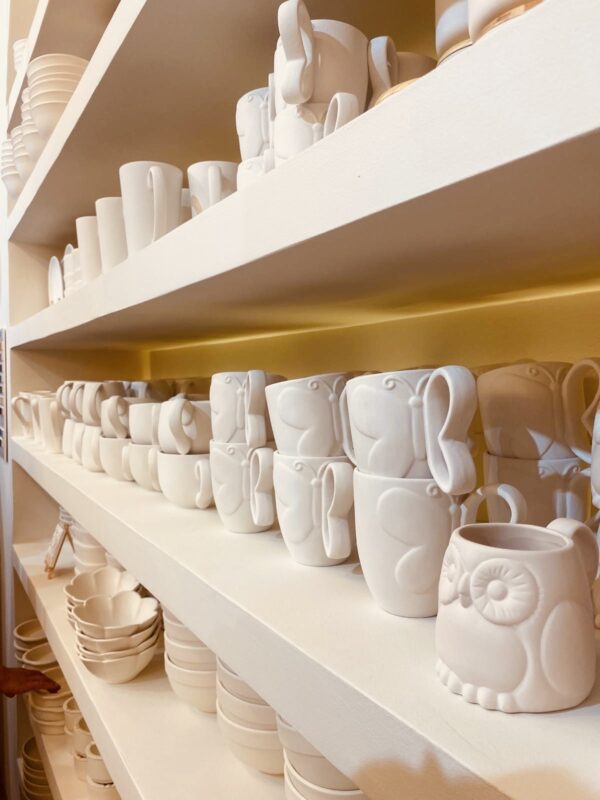


2) Step-by-step guide to painting your mug (from design to kiln)
First, outlining and delimiting the main areas of the design helps to organize the composition. To achieve clean edges, it is advisable to protect them with painter's tape.
Next, extend one light first layer without pursuing total coverage; the initial objective is to set the tone and prepare the surface for the next coat.
After, apply a second and, if necessary, a third layer until a color is obtained solid and uniform. Immediately afterwards, incorporates the details, lines, dots or text, with a fine brush or ceramic pencil; in food contact areas, these strokes they will be under enamel.
When the paint is to the touch, carefully remove the tape to define the profile. Finally, put the piece in the oven and fired at 1,100 °C; to avoid thermal shocks, leave her cool down inside from the oven.
Foolproof techniques
To begin with, sponging creates soft backgrounds with very little load and gentle touches; therefore, it’s ideal for avoiding over-saturation. Similarly, dotting produces regular patterns that add volume and rhythm without complications. Finally, gradients work best when two neighboring tones are blended wet-on-wet in sections; this prevents harsh lines and streaks.
Quick techniques to switch things up
For example, sgraffito offers great creative potential: apply three coats, let them dry, and scratch your design to reveal the base color. Likewise, splattering (using a toothbrush inside a box) adds controlled energy. Additionally, marbling blends similar tones and creates elegant streaks that work as a subtle base.
On the other hand, tape allows for stripes, chevrons, and grids with touch-dry removal to get clean edges. Similarly, stencils and stickers act as masks to easily create crisp silhouettes. Likewise, stamps repeat patterns evenly and stand out in color over color (especially dark over light).
To finish, you can soften brushstrokes with washes (a few drops of water). If you’re aiming for fine lines, use a fine tip or ceramic pencil. For dots, use the end of the brush for larger ones and a nozzle for smaller ones. Finally, speckles and glitter add texture: one layer is subtle; up to three enhances the effect.
Firing at 1,100 °C: key points
First, begin the gradual temperature rise with the kiln cold to stabilize the curve. Next, maturing at 1,100 °C ensures a glassy, durable finish. Then, it’s essential to cool inside the kiln to prevent stress and microcracks. Finally, keep in mind that color may vary slightly depending on thickness, placement, and load; therefore, it’s a good idea to run small color tests.
Common mistakes and solutions
If you detect thick layers, go to thin layers with dried between hands. In case of grease or dust, clean the sponge with wet sponge before painting. When the lines spread out, better unload the brush and work on dry base. To avoid thermal shock, begins with cold oven and leave cool down inside.
Finally, in front of unwanted spots or lines, acts according to the case.
If they are fresh, delete them with slightly damp sponge; if they are dry, fine sandpaper (400–600 grit), remove the dust and repaint in thin layers.
If you want to delve deeper into the techniques, the ceramics Wikihow it is a good starting point.
3) Durability and care: dishwasher, microwave, and maintenance
Quick table: system and resistance
| System used | FIXED | Final gloss | Daily use | Dishwasher |
|---|---|---|---|---|
| Stroke & Coat (color) + ceramic pencil under glaze | Ceramic kiln at 1,100 °C | High (vitrified) | Excellent | Yes, following the studio protocol |
Good habit: keep the rim surface smooth and continuous for greater drinking comfort and better aesthetic aging.
Cleaning and touch-ups over time
- Washing in a domestic dishwasher following the studio’s guidelines; to maximise durability, avoid abrasive products.
- If a small aesthetic defect appears before firing, it can be corrected (see the errors section). After firing, the surface becomes vitrified and requires no sealants.
4) Gift and group ideas: personalize with intention
A personalized mug communicates time, care, and meaning. Designs with initials, dates, and simple textured motifs work especially well.
Names, dates, and motifs that work well
- Bold initial + background with dotting or sponging
- Important date on the back of the handle
- Minimalist botanical motifs (leaves, branches, dots)
- Color duos with personal meaning (refer to the colors and emotions guide linked above)
Team building and creative activities in Barcelona
Looking for a team activity? Check out the ceramic team building in Barcelona. The activity includes designs for all levels and personalized results.
Creative bachelorette parties (ceramics in Barcelona)
For groups, it’s an original and memorable experience. Discover the bachelorette party in ceramics (Barcelona) and create mugs with initials, wedding palettes, or group phrases.
Where to paint your ceramic mug in Barcelona
La Pintoràmica has two spaces in Barcelona in Gràcia (C/ Astúries 85) and El Born (C/ Bonaire 5) with all the pieces, materials and support you need. The session lasts 100 minutes (1 hour and 40 minutes), no previous experience is necessary, and the mug will be ready to pick up in 3 days.
If you also want a different result, Paint Barcelona offers mugs and other ceramic pieces with UV glazes that glow under black light, a unique option in the city, also in El Born.
Frequently asked questions about how to paint ceramic mugs
What paint is suitable for a mug for daily use?
In the workshop it is used exclusively Stroke & Coat (color), complemented with ceramic pencils for details until they are left under enamel.
Can I use my own design or a tracing?
Yes. Just bring the printed reference; transfer it gently and work on it with thin layers.
At what temperature are the pieces baked?
Cooking is done in 1,100 °C, with controlled ascent and cooling inside from the oven.
Is it dishwasher safe?
The pieces cooked in 1,100 °C with Stroke & Coat and a smooth surface they usually withstand domestic dishwashers following the workshop guidelines.
What happens if there is an error when painting?
If the stroke is fresh, it can be wipe with a slightly damp spongeIf it has already dried, it is corrected. gently sanding the area (400–600 grit), removing dust and repainting in thin layers.