Before you start: safety, materials and which paints are good for dishes
If what you want is beautiful dishes for everyday use, it is advisable to establish a reliable system. Specifically, what gives me the best results is: clean biscuit + color (underglaze/Stroke & Coat®) + transparent glaze + firing at ~1,100 °C + cooling inside the oven. In addition, when I work in the workshop I apply 2–3 thin layers and I let it dry between my hands; thanks to this, the surface becomes vitrified and smooth.
Base materials
- Biscuit pieces (flat, dinner or dessert dish) without powder.
- Ceramic colors: underglaze or Mayco Stroke & Coat® (covers well in 2–3 coats).
- Ceramic pencils or markers for signatures and very fine lines (they will remain under the glaze).
- Transparent enamel suitable for food use (glossy or satin).
- Brushes soft (medium flat for fields, fine round for detail), sponges, painter's tape and stencils.
Safety and contact areas
- Center of the plate = direct contact with food and the friction of cutlery. Here it is advisable to prioritize smooth enameled surface for durability and cleanliness.
- Edge = occasional contact with mouth and hands. You can decorate it without fear if the system is baked correctly; however, I avoid “overloading” the edge with micro-reliefs.
Stroke & Coat, underglaze and markers: real differences in dishes
- Stroke & Coat® (High Color): uniform and gentle coverage; consequently, it works for color blocks, wet gradients and overlapping details. With 2–3 thin layers it remains solid and, once glazed, integrates properly.
- Colored underglaze/englazes: matt appearance before glazing and high controllability for flat layers, graffiti and fine drawing; after the glaze, the colors are vivid and stable.
- Ceramic pencils/markers: indicated for fine lines, texts and signatures; therefore, are applied before the enamel so that they are sealed and the surface is completely smooth.
Food grade: when clear enamel is required
Generally, when the dish will be used with food, clear enamel is needed that encapsulates the color and generates a surface continuous and vitrified. This:
- Improves the hygiene and cleaning.
- Reduce the cutlery marking.
- Finally, it increases the dishwasher resistance.
Only enamel is dispensed with in pieces purely decorative or in systems that already integrated suitable finish according to technical sheet.


Step by step to paint dishes: from design to baking
- Plan and sketch
The focus is defined (edge, inner frame or center). For coordinated tableware, it works choose 2–3 tones and repeat a reason. - Preparing the sponge cake
It happens. just moistened sponge to remove dust; on the other hand, are avoided alcohols and degreasers because close pores. - Demarcation with tape and templates
Next, it is used painter's tape for sharp lines. It is painted and retracts to the touch to obtain perfect songs. - Layers of color (2–3 coats)
First, a light pass is given to settle the tone; then, a 2nd and 3rd hand to achieve opacity. If gradients are sought, they are mixed wet two neighboring tones by sections. - Details and signatures
The fine line is resolved with brush 0–2 or ceramic pencil. Likewise, in the dining area these details remain under the glaze. - Corrections before glazing
Fresh stain → sponge. Instead, dry stain → 400–600 grit sandpaper, dust removal and fine repainting. - Transparent enamel
Coverage applies homogeneity avoiding puddles; meanwhile, drips on the thread are monitored. If necessary, it is left clean foot or supports/stilts are used. - Cooking
It starts with cold oven and gradual rise; then, it matures to ~1,100°C (depending on the glaze). Finally, cools inside the oven to avoid stresses and microcracks.
Preparing the sponge cake, perfect layers (2–3) and time between coats
- Hand-dried to the touch (matte, no shine); otherwise, if rubbed, it can seal in moisture and cause flaky in cooking.
- Brush load: are preferred three thin layers to a thick one.
- Edge control: it is painted from the center outwards to avoid accumulations on the thread.
- Uniformity: alternating the direction of the brushstroke (horizontal/vertical) helps camouflage marks.
Edges, center and back: design strategy for real-life dishes
- Center (cutlery rack): wide motifs are recommended, few edges and colors media (very light ones show more marks).
- Edge: suitable for repeated patterns (pointillism, botanical, geometric); however, it is advisable to leave a net inner margin of 2–3 mm by visual order.
- Reverse: the signature and a simple detail (line or dot) are placed there; therefore, textures that rub together when stacked are avoided.
Firing at 1,100 °C: bending, maturing and stress-free cooling
- Climb staggered to avoid thermal shock; then, the maturation window indicated by the glaze (cone/temperature).
- Cold inside the oven to a safe temperature; thus, they are minimized cracked and warping.
Techniques that work (without getting complicated)
Sponges, gradients, pointillism and graffiti
- Sponged: soft backgrounds with little load; therefore, it speeds up times and avoids saturation.
- Gradients: mixing two adjacent tones wet, working to sectors to avoid sudden cuts.
- Pointillism: rhythm and texture with the’end of the brush or nozzle; especially effective on edges.
- Graffiti: three layers, dried and scratch design to reveal the underlying tone; the lines remain clean under glaze.
Masks with tape and templates, stamps and controlled splashes
- Tapes/templates: allow for sharp stripes, grids, and silhouettes; they are removed to the touch to obtain fine edges.
- Stamps: repeated “color on color” patterns (especially dark on light).
- Splashed: are executed within a box to avoid contamination; a toothbrush is struck with control.
Durability and care: dishwasher, microwave and cutlery resistant
- Dishwasher: with very mature enamel ~1,100°C, the dishes withstand normal domestic cycles; however, it is recommended to avoid abrasives and prioritize standard program.
- Microwave: suitable if the clay and glaze allow it; they are avoided luster or metal to the design.
- Cutlery brands: may appear slight marked over time, more visible in very light tones; it is reduced with very mature enamel and medium colors in the center.
- Stacked: the reverse It must be smooth; a small ring without enamel or a polished line prevents adhesions between pieces.
Final glazing and smooth surface: why it matters in dishes
- Hygiene: absence of micro-pores and reliefs where dirt accumulates.
- Finished: glossy or satin, with preference for satin to hide micro-marks.
- Thickness: puddles (they could leach) and hungry areas (rough touch) are avoided.
How to avoid scratches and chips with daily use
- They are used compatible nail polishes with the clay and the firing temperature.
- The edge is not ’choked“ with excess load; balance is sought and controlled curve.
- They are corrected. cuts or sharp edges with fine sandpaper before to glaze.
Common errors and quick fixes
- Thick layer that wrinkles or flakes → it goes to thin layers with dry to the touch between hands.
- Lines that open or bleed → the brush is unloaded better and the work is done on dry base.
- Dry spots → 400–600 grit sandpaper, dust removal and fine repainting.
- Thermal shock (cracking, tensions) → starts with cold oven and cooled inside.
- Enamel drips → the load is controlled, the wire is cleaned before cooking and they are used supports when the reverse is glazed.
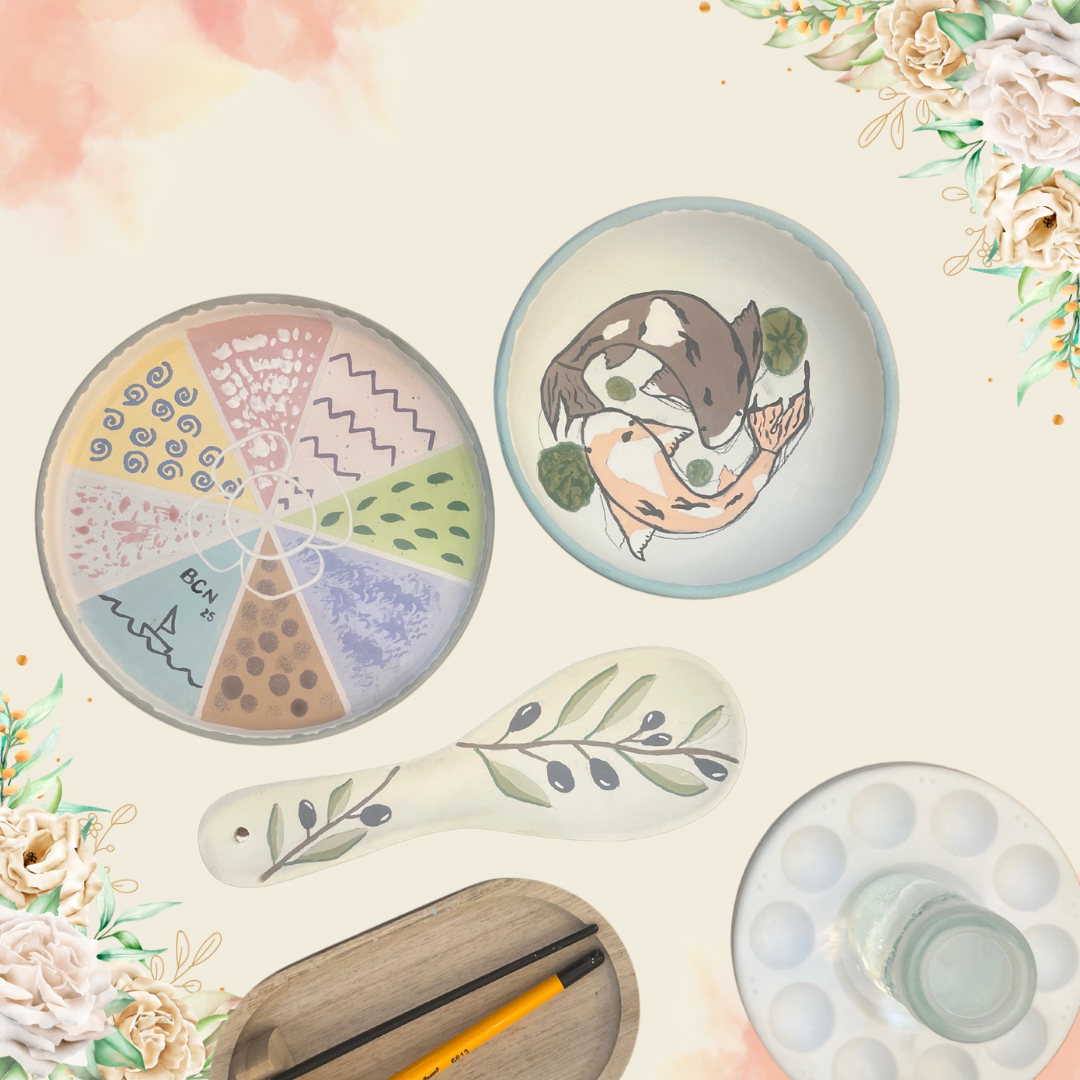
Design ideas for coordinated tableware
- Short palette (2–3 shades) with medium contrast for visual coherence.
- Modular motif: minimalist botanical, small repeated polka dot or double stripe on the edge.
- Complete series: the is repeated language in flat dish, dinner and dessert with variations in scale.
- Gift detail: discreet initial on the reverse, date under the glaze and dotted border.